Millets or Siri Dhaanya ( Rich Grains) have taken over especially in south India, because of its fiber-rich and diabetic friendly ingredient.
Coming from a cold climate to a nearly warm climate is a drastic change right? can't believe I am back in India for some time, Have you noticed something? These days everything from aeons ago is back into fashion!! it may be a dress code, hairstyle or food.
Nowadays people are becoming more and more health-conscious; paying attention to what they eat and how they eat it. One such food item that has had a great comeback is Millets!!
Millets have a high nutritional value, they are recently gaining popularity because they are particularly good for diabetics, as they have high fiber content and they are gluten-free. They are very rich in proteins, B Vitamins, Calcium, Iron, potassium, etc.
Millet is one of the digestible and non-allergenic grains available, as it is rich in fiber content it is said to be good for people suffering from Type 2 diabetes, as it has a low glycemic index. It is said that the Magnesium in millet can help reduce the effects of migraines and heart attacks. Niacin (vitamin B3) in millets can help lower cholesterol.
Millets consumption decreases triglycerides and C-reactive protein. The best part of these wholesome grains is they have a very high protein content, making it a substantial addition to a vegan and vegetarian diet. Millets have become an integral part of the diet in India now!
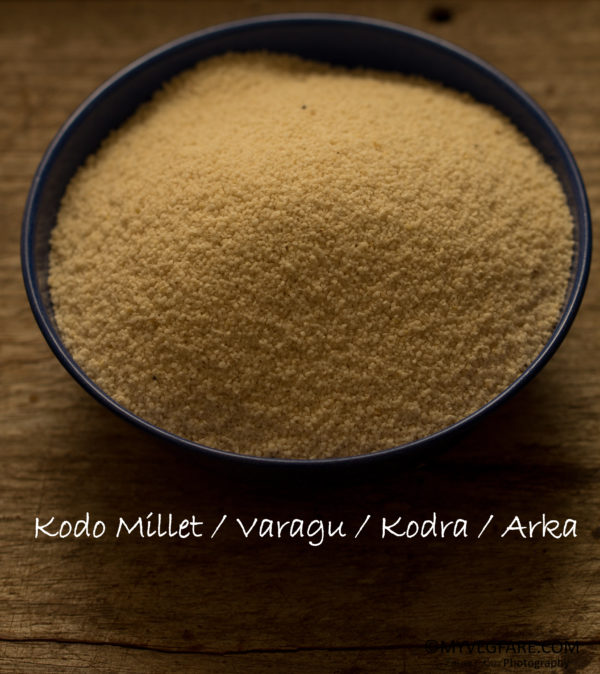
Millets can be used instead of rice, It's just a small thing which you should know how to cook some of them if you are going to use it instead of rice. Using them in Idlis or Dosas are very easy. The most loved millet is Kodo millet, works perfectly instead of rice.
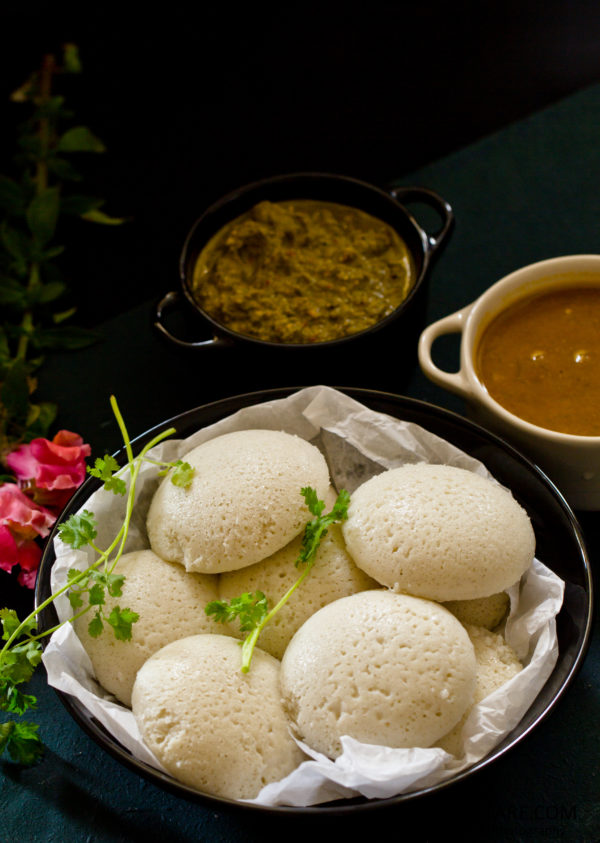
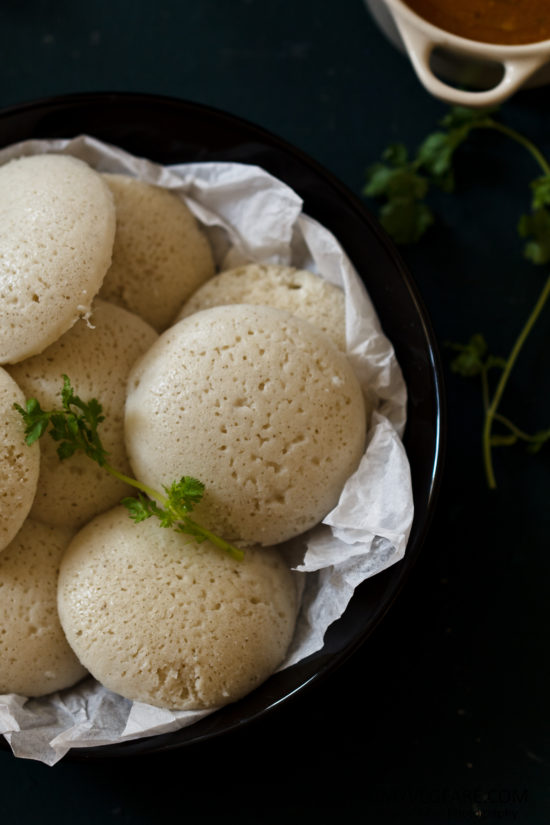
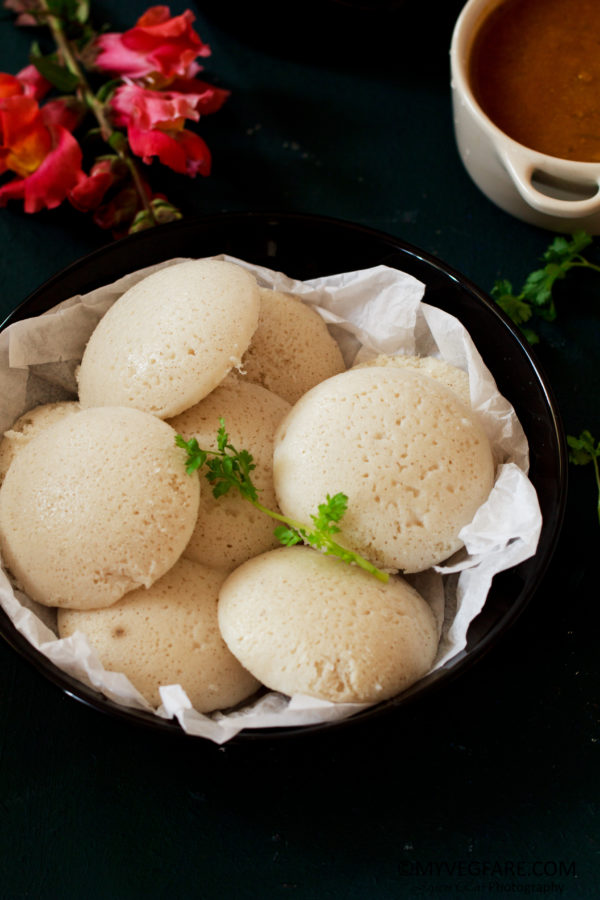
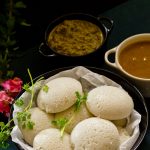
I have used this in Millet in many ways this is one of them, a perfect breakfast dish if you are a south Indian, you wouldn't definitely say no! These Idlis are so perfect and pillowy soft-serve it with a side dish of your choice.
Kodo Millet Idli (Kodo Millet steamed dumplings) #Varagarasi, #Kodra, #Arka, #Koovaragu
(A South Indian Breakfast which is almost gluten-free, can be made completely gluten-free, pillowy soft steam-cooked Indian dumplings go very well any spicy side wish)
Recipe Author: Jayasri
Recipe Type: Breakfast
Prep time: 12 hours
Cook time: 13 to 15 minutes
Shelf Life: 1 week
Serves: 5
Ingredients:
2 cups kodo millet(varagu/Arka)
1 Cups Rice
1 tbsp Fenugreek seeds
1 cup urad dal
½ cup Poha / avalakki
1 ½ cup water (approximately)
2 tsp salt
Method:
I use different methods to choose which one you would prefer and use it. Soak all the above ingredients for 4 to 5 hours.
- Soak separately Kodo millet and fenugreek seed. Soak Rice separately. Soak Urad dal and poha separately. In your wet grinder add fenugreek seeds and Kodo millet together, fenugreek seeds fluff up nicely grind until smooth to this add poha and urad dal, grind it smoothly. Next, add rice grind it until almost smooth. (Remember to wash poha very well and when I soak poha separately it uses all the water, in which I soak so don’t panic add enough water so it becomes soft)
- Soak Rice, Fenugreek seeds and Kodo millet together, Urad dal and Poha separately. Grind urad dal and poha together add little water now and then until it fluffs up beautifully smooth and silky it usually doubles in size like a cotton ball, when you pick up the batter it shouldn’t stick to your hands. That’s when you know you have ground it perfectly well. Remove this from the grinder into a large vessel now to this add rice, Kodo millet and fenugreek seeds and grind it smoothly. Using water little by little. Add this to the ground Urad dal batter and mix well.
- Soak Rice and Kodo millet together. Soak Urad dal separately. Fenugreek and poha together. Drain rice and millet for some time. Spread it on a cloth for some time still, then roast in a wok in a for few minutes, in a low flame adding little by little (fistful). It turns white in colour, once done allow it to cool down. Meanwhile, grind fenugreek and poha together adding little water at a time then add urad dal and grind it into a smooth batter. Once the rice mixture is cool pound it in a mixie to an almost coarse smooth powder. Mix this mixture into urad dal batter and allow it to ferment.
Using any one of the above three methods, grind and allow the batter to ferment for at least 8 to 10 hours depending on the place you stay. If you are in warm temperature it usually starts fermenting within 6 to 7 hours, so it totally depends on the place you live.
If it is a very cold climate it takes longer to ferment so It’s better to keep it in a warm place like a boiler room or near the heater or you can use electric oven switching on just the light.
Once it is fermented add salt mix well together, apply oil onto the Idli plates, fill it with the batter 3/4th of the moulds. If you are using your pressure cooker allow it to steam for 13 to 15 minutes without the whistle. You can cover the whistle with an inverted steel tumbler for at least 7 to 8 minutes then remove it and allow it to cook for another 7 to 6 minutes.
Some Notes to remember:
If you are using the idli cooker it’s the same method the lid opens on its own once the idli is done. Press it back again bring the stove to low flame leave it for another 2 minutes it pops up back again then it's done. Switch off the stove.
A little trick to get proper round moulds of the idlis is. when you keep the plates on top of the other see to it that the holes come underneath the batter mold and the other thing is, do not put the little screw into the stand use it only when you lift the stand after the idlis are done this way it helps in fluffing of the idlis properly.
Serve the Idlis with sambar, chutney or anything of your choice.
Kodo Millet Idli (Kodo Millet steamed dumplings) #Varagarasi, #Kodra, #Arka, #Koovaragu
Ingredients
- 2 cups kodo millet varagu/Arka
- 1 Cups Rice
- 1 tbsp Fenugreek seeds
- 1 cup urad dal
- ½ cup Poha / avalakki
- 1 ½ cup water approximately
- 2 tsp salt
Instructions
- I use different methods choose which one you would prefer and use it. Soak all the above ingredients for 4 to 5 hours.
- Soak separately kodo millet and fenugreek seed. Soak Rice separately. Soak Urad dal and poha separately. In your wet grinder add fenugreek seeds and Kodo millet together, fenugreek seeds fluff up nicely grind until smooth to this add poha and urad dal, grind it smoothly. Next add rice grind it until almost smooth. (Remember to wash poha very well and when I soak poha separately it uses all the water, in which I soak so don’t panic add enough water so it becomes soft)
- Soak Rice, Fenugreek seeds and kodo millet together, Urad dal and Poha separately. Grind urad dal and poha together add little water now and then until it fluffs up beautifully smooth and silky it usually doubles in size like a cotton ball, when you pick up the batter it shouldn’t stick to your hands. That’s when you know you have ground it perfectly well. Remove this from the grinder into a large vessel now to this add rice, kodo millet and fenugreek seeds and grind it smoothly. Using water little by little. Add this to the ground Urad dal batter and mix well.
- Soak Rice and kodo millet together. Soak Urad dal separately. Fenugreek and poha together. Drain rice and millet for some time. Spread it on a cloth for some time still, then roast in a wok in a for few minutes, in a low flame adding little by little (fistful). It turns white in colour, once done allow it to cool down. Meanwhile grind fenugreek and poha together adding little water at a time then add urad dal and grind it into a smooth batter. Once the rice mixture is cool pound it in a mixie to almost coarse smooth powder. Mix this mixture into urad dal batter and allow it to ferment.
- Using any one of the above three methods, grind and allow the batter to ferment for at least 8 to 10 hours depending on the place you stay. If you are in warm temperature it usually starts fermenting within 6 to 7 hours, so it totally depends on the place you live.
- If it is a very cold climate it takes longer to ferment so It’s better to keep it in a warm place like boiler room or near the heater or you can use electric oven switching on just the light.
- Once it is fermented add salt mix well together, apply oil on to the Idli plates, fill it with the batter 3/4th of the moulds. If you are using your pressure cooker allow it to steam for 13 to 15 minutes without the whistle. You can cover the whistle with a inverted steel tumbler for at least 7 to 8 minutes then remove it and allow it cook for another 7 to 6 minutes.
- If you are using the idli cooker it’s the same method the lid opens on its own once the idli is done. Press it back again bring the stove to low flame leave it for another 2 minutes it pops up back again then its done. Switch off the stove.
Notes
Serve the Idlis with sambar, chutney or anything of your choice

Vai
Made these with millet flour and came out super fluffy!
Jayasri Ravi
Wow! that's so cool, good it turned out, this will help others if they have any queries.
Priya Srinivasan
Idlies the best breakfast we ever invented!!!! the already healthy idly is more nutritious with these millets!!! I love to make millet idlies, infact varagu idly is something i make often, but without adding rice!! love the wonderful texture you have got there!!! 🙂
sasmita sahoo
Kodo Millet in idli sounds so healthy ! Idlis are looking so perfect and pillowy soft texture. Love to have with some hot piping sambar 🙂
Jayasri Ravi
Thank you, Sasmita!
Anshu
Idli looks simply irresistible; I am awed with the fact that it is made using millets. Frankly we don't use much of millets in our diet but, your pictures are tempting me enough to give it a try!
Jayasri Ravi
Anshu, I don't use very regularly as it hurts my tummy! But, I love making Idli and Dosa with them.
Narmadha
Idli looks so soft and spongy. Makes it more healthy to add millets. Lovely share
Jayasri Ravi
Thank you Narmadha!
Jayashree T.Rao
The idlis look so soft and are definitely healthier. I am yet to try this kodo millet in my kitchen. Nice share.
Jayasri Ravi
Thank you, Jayashree!
Sandhya Ramakrishnan
Kodo millet idli is in my list of to make recipes for a long time. The texture of the idli looks marvelous and can't really tell that it is made with healthy millet. Lovely recipe!
Jayasri Ravi
Thank you, Sandhya!
Jagruti's Cooking Odyssey
Jaya, I am loving these healthier idlis, one of my favourite too. Such gorgeous photography.
Jayasri Ravi
Thank you Jags, I love Idlis! so I keep trying out new things!
RUCHI M SHAH
Idli looks so fluffy and soft. Perfect , beautiful texture . Loved the detailed post. Will try this way ..
Jayasri Ravi
Thank you Ruchi! do try it out!
Sandhya Nadkarni
This is a new recipe for me Jayasri! Love how light and fluffy these idlis look. I like the flavor of kodo millet too. Fabulous share!
Jayasri Ravi
Thank you Sandhya!
Geetha
I've come across this post at right time as I've started using millets regularly and I'm looking for recipes. Kodo millet recipe looks amazing with simple tips and tricks. Lovely share...
Jayasri Ravi
Thank you Geetha!
amrita
Including millets in our diet is a healthy choice no doubt... Normally I prepare khichdi with varieties of millets.. love this kodo millet idli..
Jayasri Ravi
Thank you Amritha! I love making Idlis 🙂
Malini
Wow. Varagu arisi idli. The Idli looks so soft and fluffy. You are so true. Nowadays we are going back and trying to include lots of healthy ingredients in our recipes. Perfect for breakfast. Btwn lovely click.
Jayasri Ravi
Thank you Malini!
Lata Lala
Using kodo millet to make Idlis is a wonderful idea to make good use of nutrients rich grains in our diet.
I am so tempted to make it soon. Thanks dear for wonderful share
Jayasri Ravi
Thank you Lata!